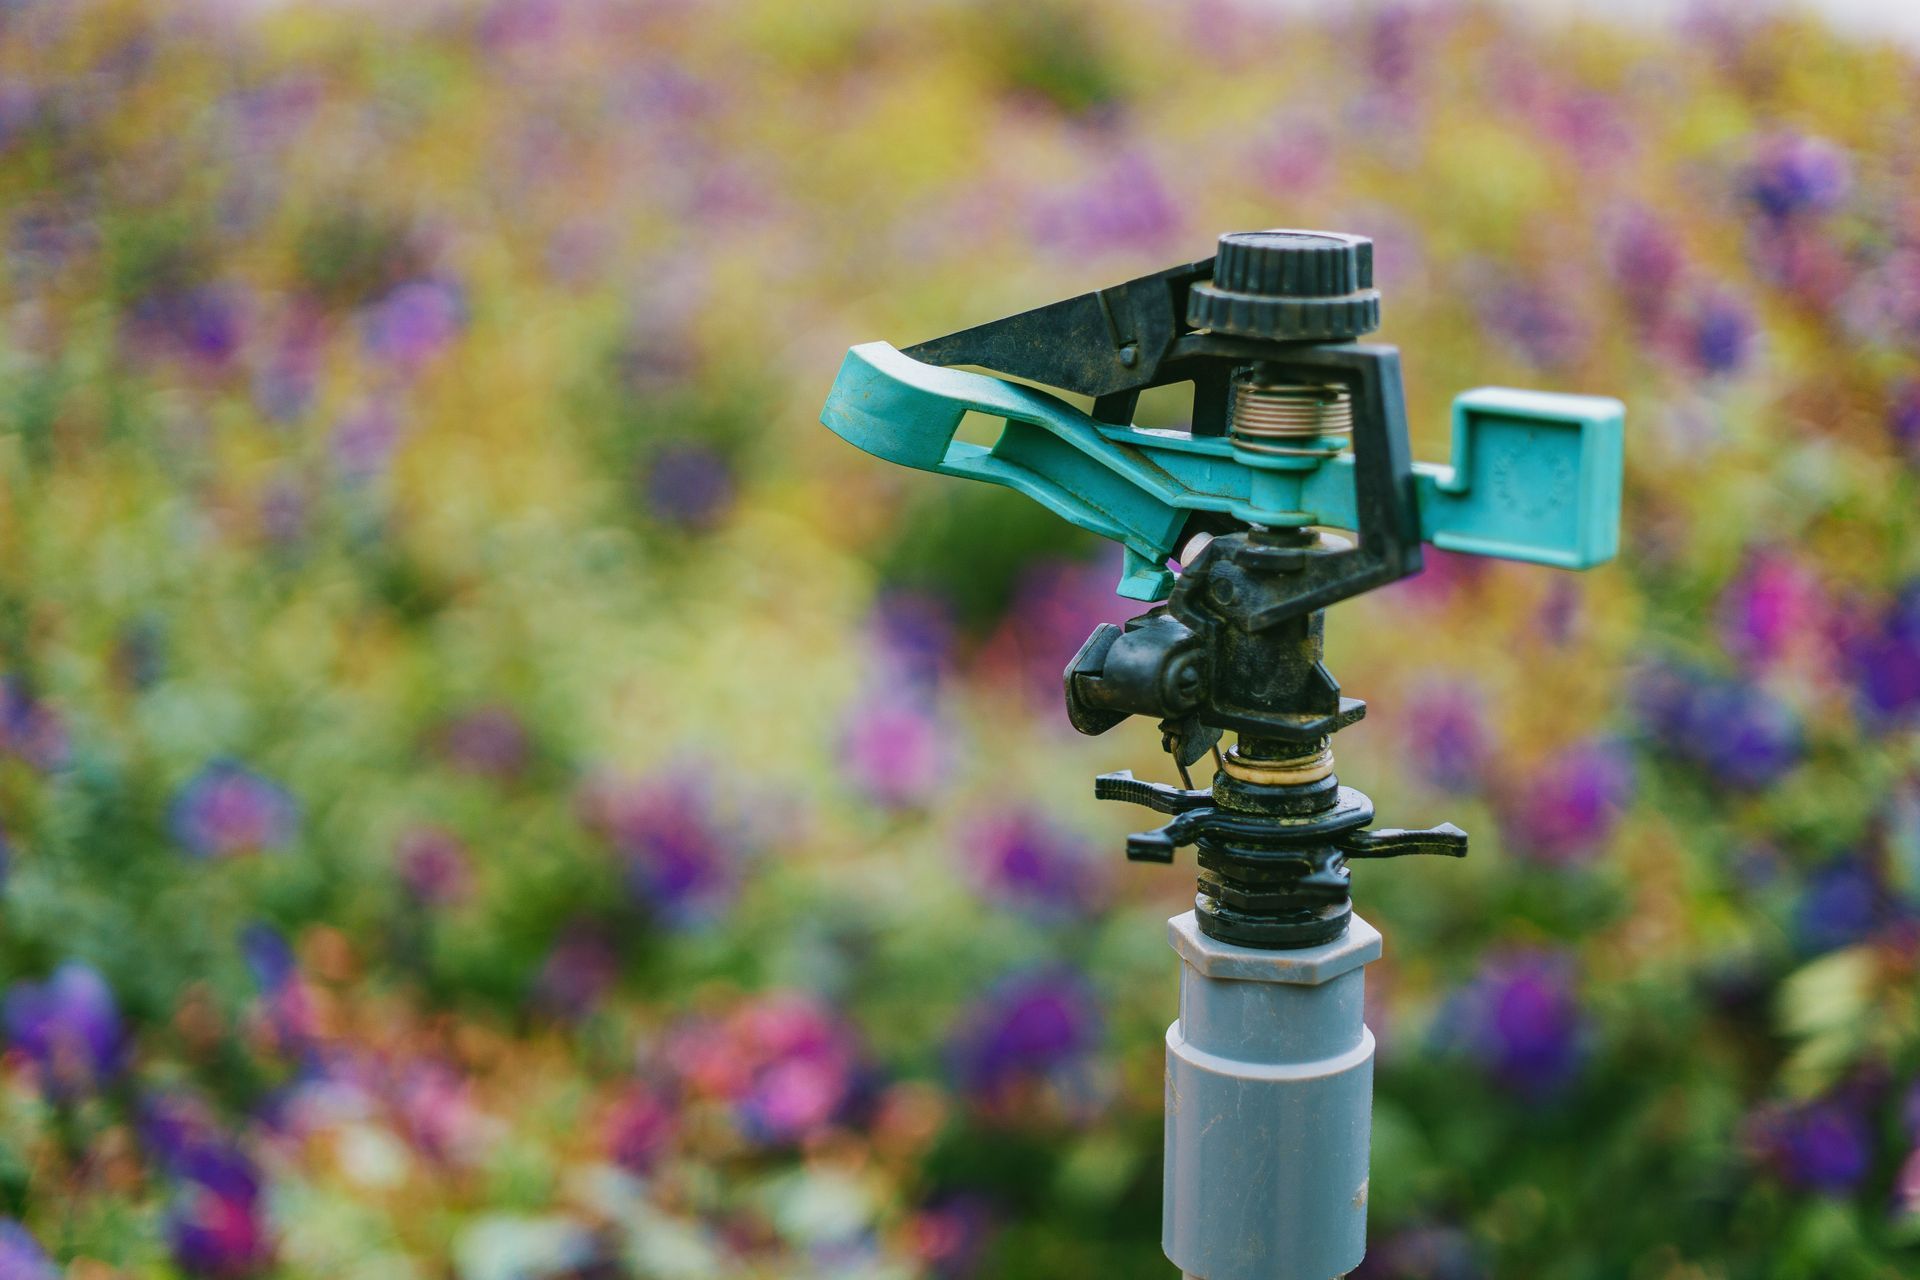
You walk the property in September and the turf still looks fine. Controllers are still running on a late-summer schedule. Then a clear, cold night shows up on the forecast, and the risk shifts from watering efficiency to freeze damage in the lines.
If you need to
winterize a sprinkler system before that first hard freeze, the work is less about flipping a timer off and more about getting water out of pipes, valves, and backflow components so ice cannot expand and crack them. This guide is for homeowners, property managers, and commercial owners who want a practical planning picture before they talk with a local irrigation crew.
This article is general planning information. It is not a substitute for a written contract, manufacturer instructions, or local ordinance / utility requirements.
Why leftover water is the real fall risk
Most people think of sprinkler winterization as “turn it off for winter.” That is only the first step. Water left in a line, valve, or brass backflow body can freeze, expand, and split components that looked fine in October.
Colorado State University Extension explains the physics in plain terms: as water cools toward freezing, it expands enough to burst pipes, crack valves, and split sprinkler or pump housings.
Their guidance also notes that relying only on manual or automatic drain valves is often unreliable because underground pipe can shift and trap water in low spots you cannot see.
That is why many cold-climate properties treat a compressed-air purge (commonly called a blow out) as the positive way to empty the system. The goal is not drama with a high-pressure blast. The goal is controlled air volume and pressure that push water out of each zone without cooking fittings or melting seals.
That risk shows up earlier at higher elevations and later in sheltered valley pockets. Neighboring Western Colorado communities do not share one freeze date. Use forecasts and local conditions, not a single social-media calendar, to decide when irrigation winterization belongs on the fall list.
How to winterize a sprinkler system
Use this as a planning sequence. Exact fittings, valve layouts, and manufacturer limits vary by property. When something is unclear, stop and confirm with the component maker or a qualified irrigation technician.
1. Shut off the irrigation water supply
Locate the shutoff that isolates the irrigation system from the domestic supply. Many sites use a stop-and-waste or similar valve upstream of the backflow device. Turn it off carefully. Do not force a stuck valve.
2. Decide how water will leave the system
There are drain-based designs and blow-out designs. If you are not sure which you have, treat the blow-out method as the safer planning assumption for freeze climates. CSU Extension states that systems with electric valves need pressurized air because gravity drains cannot clear water from the top of the valve diaphragm.
3. Connect air downstream of the backflow device
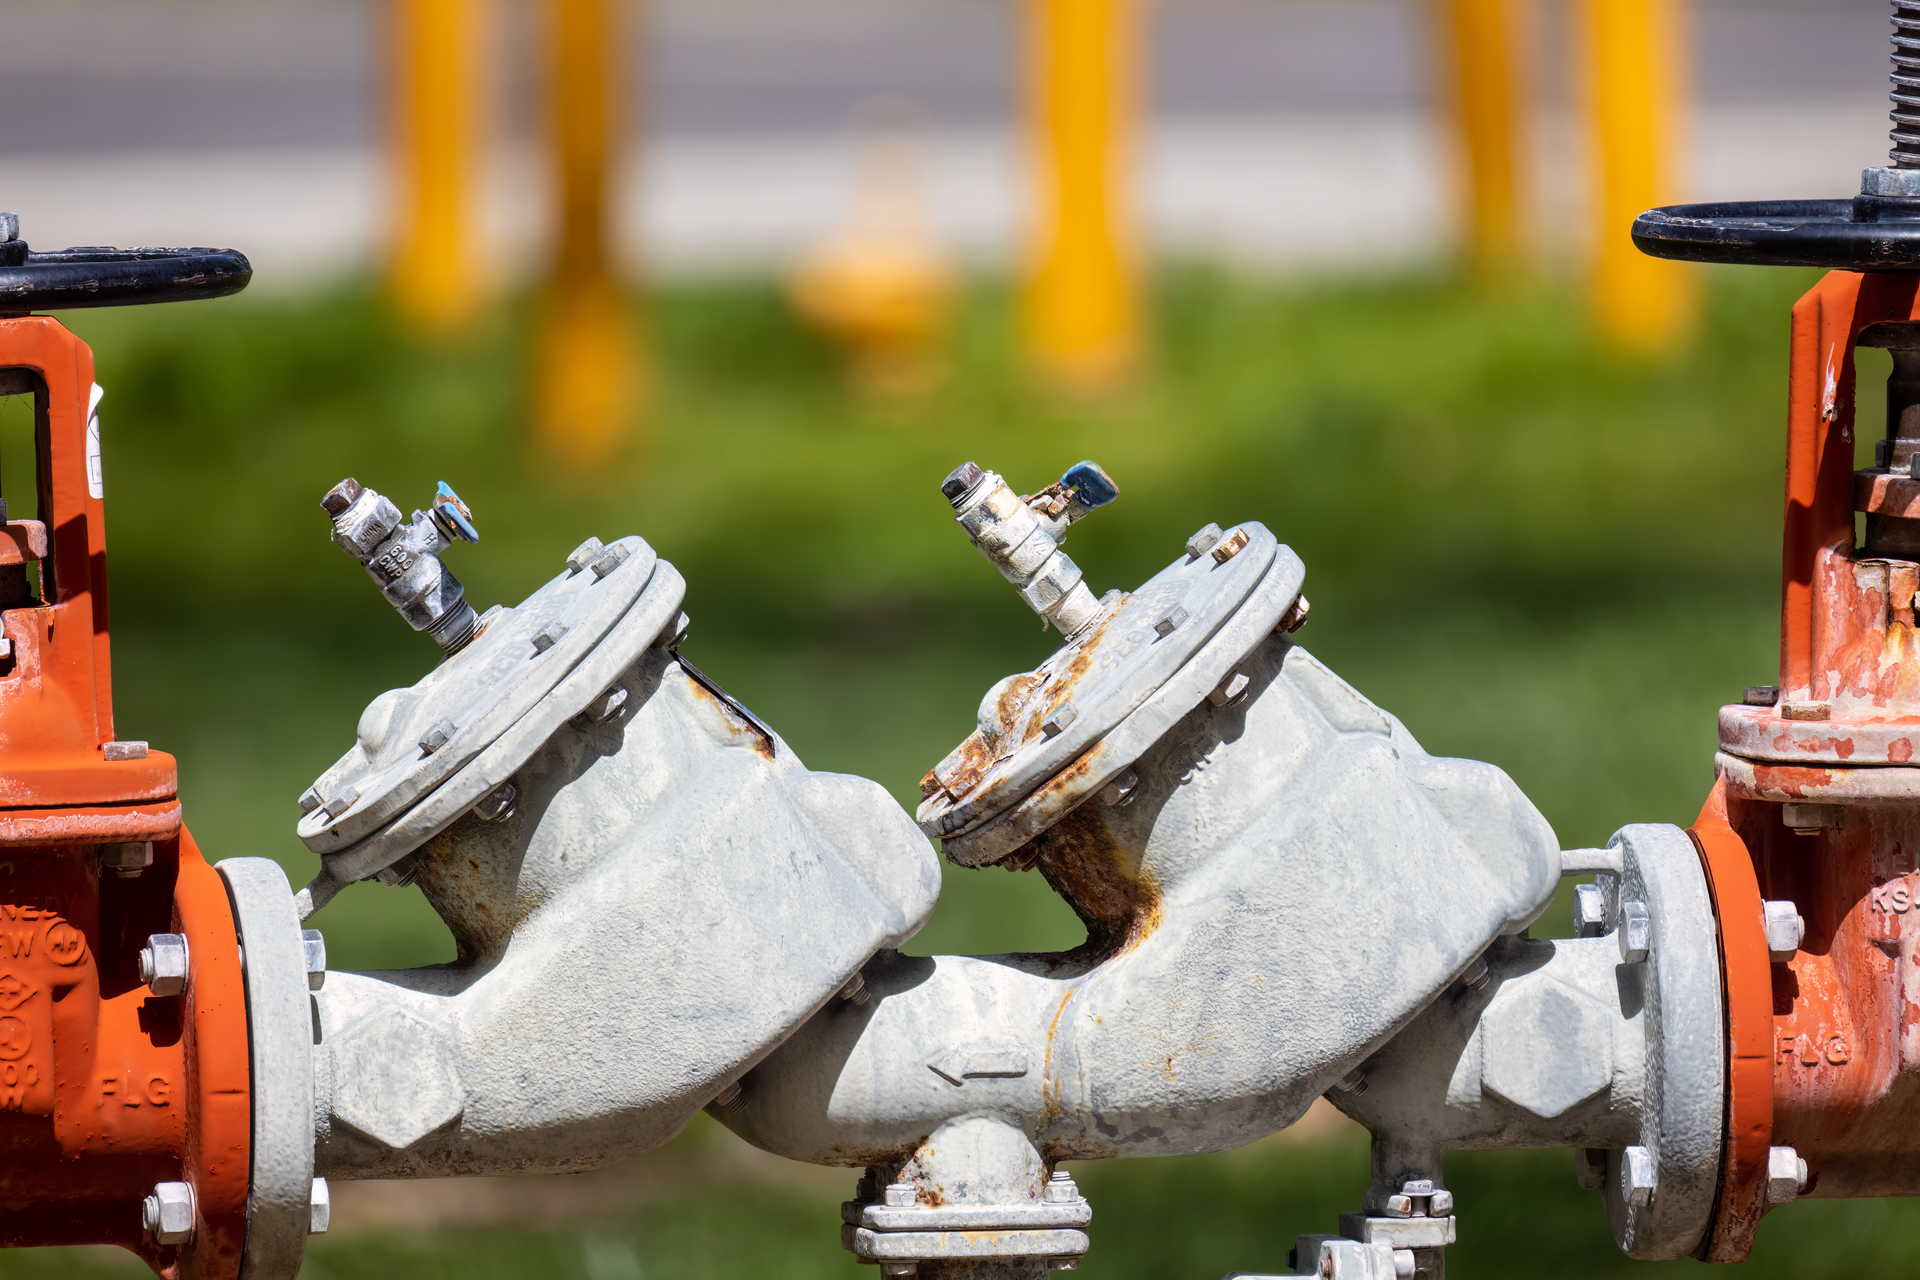
A proper blow out sprinkler system setup connects the compressor to a blowout fitting on the downstream side of the backflow assembly, not through the backflow itself.
Hunter Industries’ winterizing guidance is explicit: compressed air should not be blown through any backflow device. CSU Extension is equally clear that Pressure Vacuum Breaker (PVB) and Reduced Pressure (RP) devices must never be blown out with compressed air because heat can damage internal rubber seals.
4. Purge one zone at a time with short cycles
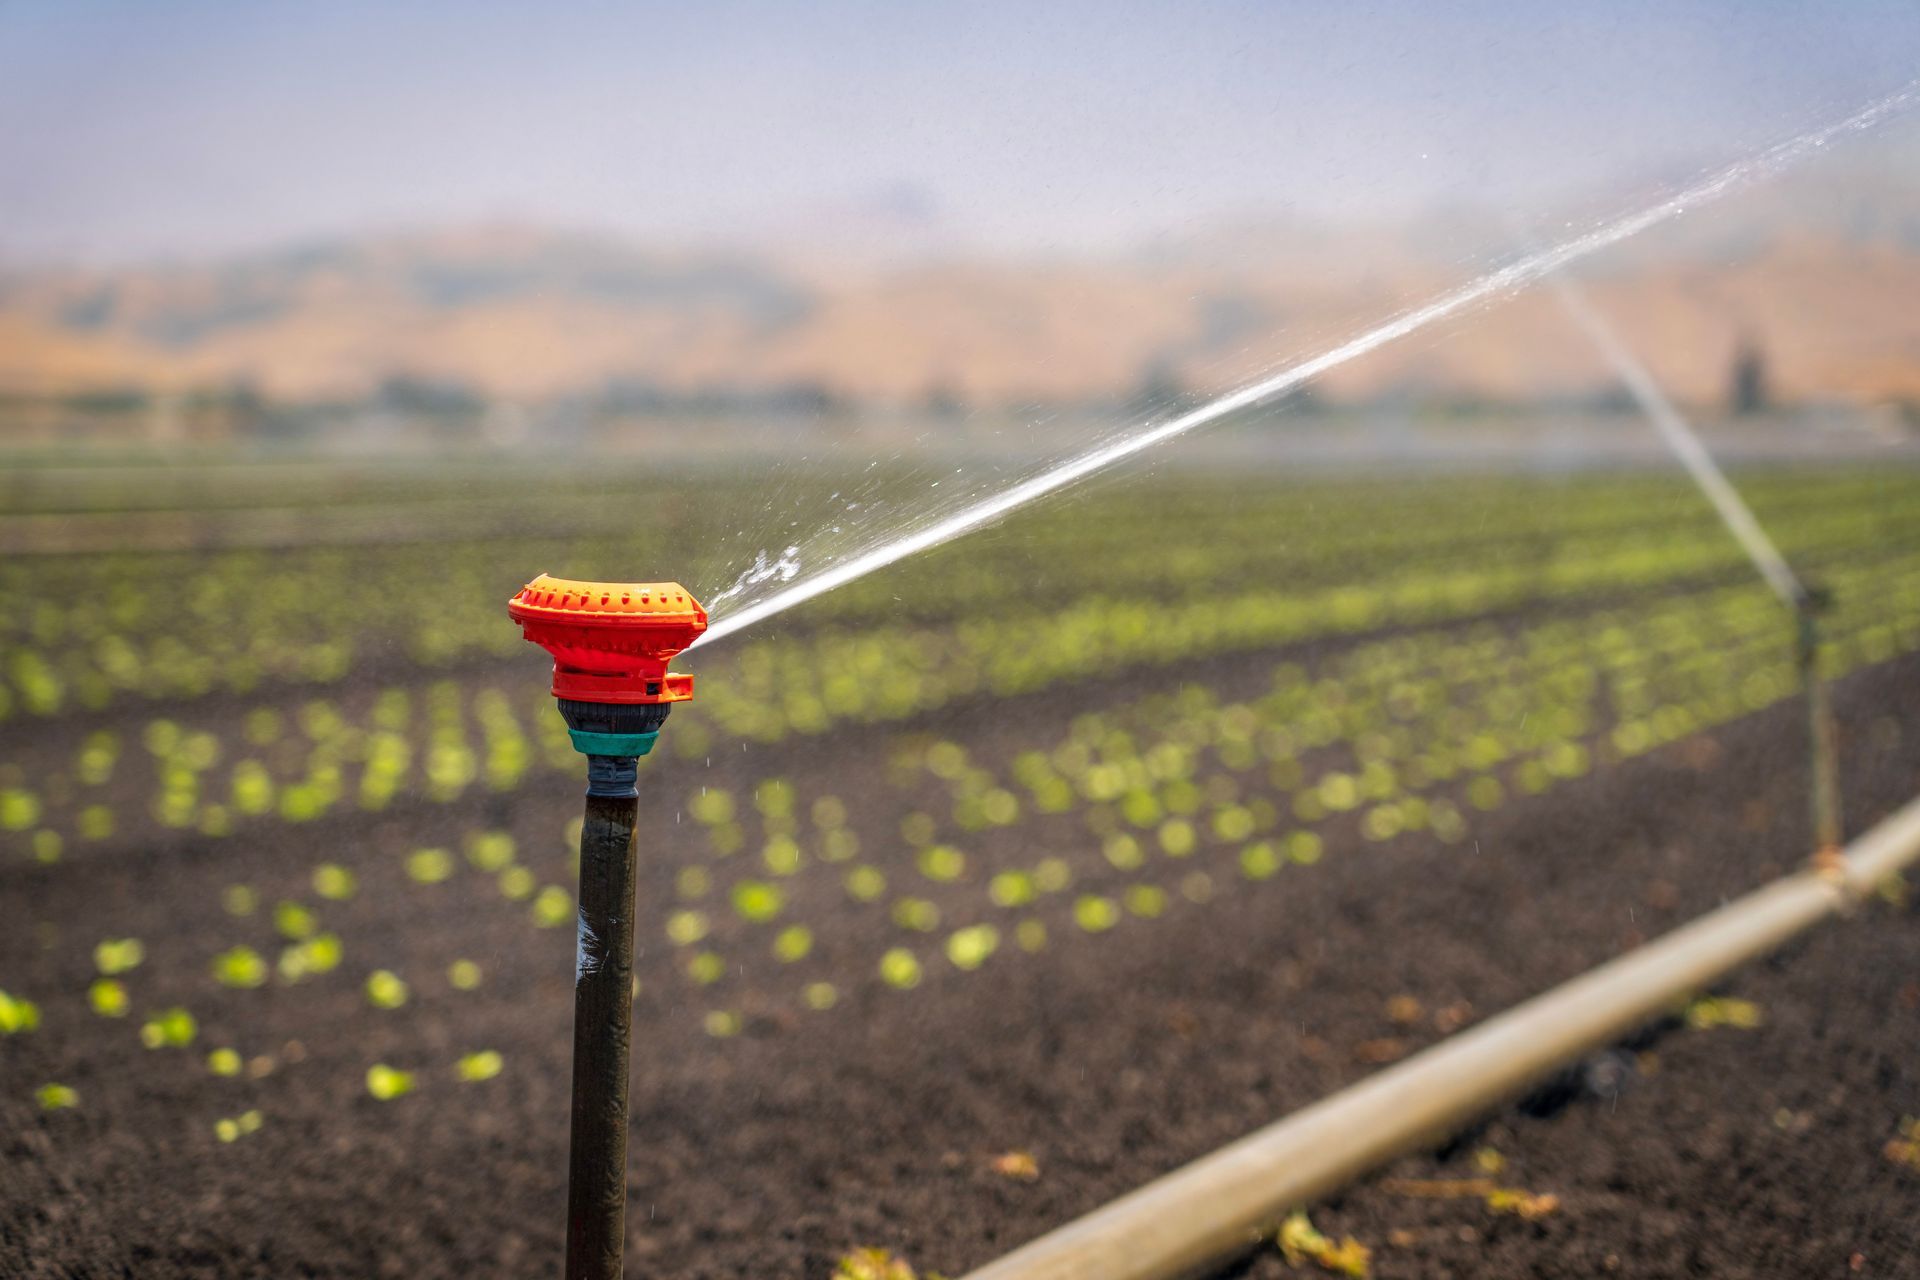
Activate one station, introduce air gradually, and watch heads until water turns to mist, then mostly dry air. Short cycles beat one long blast. Both CSU Extension and Hunter recommend multiple short cycles per zone and warn against continuing to run air through already-dry pipe, which can create friction heat and damage components.
Air
volume matters as much as pressure. Undersized airflow can skim over remaining water and leave pockets in low spots.
Oversized, unregulated pressure can blow nozzles off or stress fittings. CSU Extension discusses ideal compressor pressure ranges roughly in the 40 to 80 psi band, with lower maximums for polyethylene pipe than for rigid PVC, and it stresses matching compressor capacity to zone flow. Hunter similarly notes polyethylene and PVC pressure ceilings and recommends keeping blowout pressure below the lowest-rated component in the zone. Confirm ratings for your heads, pipe, and valves before you set a regulator.
5. Drain and stage the backflow the correct way
After lines are clear, drain and position backflow ball valves and test cocks according to manufacturer and local utility guidance.
Many PVB procedures leave isolation valves partly open for winter so trapped water cannot expand against a fully closed ball. Follow the device instructions and any local testing or ordinance rules. Do not invent a shortcut that “worked for a neighbor.”
6. Set the controller for winter
Leave power on unless the manufacturer says otherwise.
Hunter’s controller notes recommend leaving dial/switch controllers powered and set to OFF so the transformer can reduce condensation while solenoids stay inactive. Program a rain/off or suspend mode so the system does not try to water empty zones. Exact button paths differ by brand.
7. Protect above-ground parts and document the work
Insulate or otherwise protect exposed valves and backflow assemblies as local practice and manufacturer guidance allow.
Note which zones were purged, any heads that failed to pop, leaks you noticed, and controller settings. That record makes spring start-up faster and helps an irrigation repair visit stay focused.
Safety note: Hunter warns that compressed air can cause serious injury from flying debris. Wear ANSI-approved eye protection, do not stand over irrigation components during a blow out, and do not leave a compressor unattended.